Seamless Control: Mastering Raspberry Pi Remote Access From Anywhere
The Raspberry Pi, a compact yet powerful single-board computer, has revolutionized countless projects, from home automation to educational tools. However, constantly connecting a monitor, keyboard, and mouse can be cumbersome, especially when your Pi is tucked away in a corner or deployed in a remote location. This is where the magic of Raspberry Pi remote access comes into play, offering unparalleled convenience and flexibility for managing your device from virtually anywhere. Imagine controlling your Pi from your laptop in another room, or even from your smartphone while on vacation – that's the power remote access delivers.
This comprehensive guide will delve into the various methods available for accessing your Raspberry Pi remotely, whether you're on the same local network or connecting from across the globe. We'll explore popular protocols like SSH and VNC, discuss the innovative new solutions from the Raspberry Pi Foundation, and provide practical steps to get you set up securely and efficiently. By the end of this article, you'll have a clear understanding of how to maintain full control over your Raspberry Pi, no matter where you are.
Table of Contents
- Understanding Raspberry Pi Remote Access: Why It Matters
- Identifying Your Raspberry Pi's Local IP Address
- SSH: Secure Shell for Command Line Control
- VNC: Visual Control of Your Raspberry Pi Desktop
- Raspberry Pi Connect: The Foundation's New Solution
- File Sharing Services: Easy Data Transfer
- Automating Remote Access and Security Best Practices
- Beyond the Basics: Advanced Scenarios and Third-Party Tools
Understanding Raspberry Pi Remote Access: Why It Matters
Remote access on Raspberry Pi is about more than just convenience; it's about unlocking the full potential of your device. I’ve talked a lot on this website about remote access solutions for Raspberry Pi, with different applications and their pros and cons. The fundamental idea is to control your Raspberry Pi from another computer, either on the same local network or from anywhere in the world, depending on the solution you use. This capability transforms your Pi from a stationary computer into a versatile, accessible hub for all your projects.
The Core Idea: Control from Anywhere
At its heart, Raspberry Pi remote desktop software allows you to access and control your Raspberry Pi device from a different computer or mobile device as if you were sitting directly in front of it. This means you can run applications, manage files, execute commands, and even browse the web on your Pi, all without needing a physical connection. This setup is particularly useful for managing your Raspberry Pi without needing a dedicated monitor, keyboard, or mouse connected to it. For instance, if you have a Raspberry Pi 5 starter kit with 8GB RAM—roughly $100 brand new—running a home server in a closet, remote access becomes essential for its day-to-day management.
Headerless Setups: A Game Changer
One of the most significant advantages of remote access is its utility for "headerless setups." A headerless setup refers to a Raspberry Pi running without a monitor, keyboard, or mouse attached. This is especially useful for embedded projects, servers, or IoT devices where a full desktop interface isn't required for daily operation. Remote access allows you to configure, troubleshoot, and update these systems without ever having to physically connect peripherals, making deployment and maintenance far more streamlined. This allows all Raspberry Pis to be accessible via remote access to a terminal window in the web browser, or even a full graphical desktop, regardless of their physical location or attached hardware.
Identifying Your Raspberry Pi's Local IP Address
Before you can remotely access your Raspberry Pi, you need to know its local IP address. This is the address assigned to your Pi by your router within your home or office network. There are several methods to find this crucial piece of information:
- On the Raspberry Pi itself: If you have a monitor connected, open a terminal and type
hostname -Iorip a. Look for the IP address listed next to your network interface (usuallyeth0for wired orwlan0for Wi-Fi). - From your router's administration page: Most routers have a web interface (often accessible by typing
192.168.1.1or192.168.0.1into your browser). Log in and look for a section like "Connected Devices," "DHCP Clients," or "Network Map." Your Raspberry Pi should be listed by its hostname (often "raspberrypi" by default) along with its assigned IP address. - Using network scanning tools: Tools like Advanced IP Scanner (for Windows) or Nmap (cross-platform) can scan your local network and list all active devices and their IP addresses. This is particularly useful if you have multiple devices and aren't sure which one is your Pi.
- Via your mobile phone: Many Wi-Fi analysis apps for Android and iOS can scan your network and show connected devices, including their IP addresses.
Once you have the local IP address, you can proceed with setting up various remote access methods.
SSH: Secure Shell for Command Line Control
SSH (Secure Shell) is a secure protocol that enables remote access to your Raspberry Pi’s command line, allowing you to control the device, run commands, and transfer files seamlessly over a network. It's the go-to method for server management and automation due to its efficiency and robust security features. This guide will walk you through setting up SSH, accessing your Raspberry Pi remotely, and performing essential tasks such as remote control and file transfer.
Setting Up SSH for Remote Terminal Access
SSH is often enabled by default on recent Raspberry Pi OS images, but if not, it's easy to activate:
- Enable SSH:
- Via Raspberry Pi Configuration Tool (GUI): On your Pi's desktop, go to Menu > Preferences > Raspberry Pi Configuration. Under the "Interfaces" tab, make sure "SSH" is enabled.
- Via
raspi-config(Terminal): Open a terminal on your Pi and typesudo raspi-config. Navigate to "Interface Options" > "SSH" and select "Yes" to enable it. - Headless Setup (pre-boot): If setting up a new Pi without a monitor, you can enable SSH by creating an empty file named
ssh(no extension) in thebootpartition of your SD card before first boot.
- Change Default Credentials (Crucial for Security): The default username is
piand the password israspberry. This is a significant security risk. Find out how to enable SSH, change usernames and passwords, and use terminal applications on Windows, Mac, and Linux.- On your Pi, open a terminal and type
passwdto change the password for thepiuser. - Consider creating a new user with
sudo adduser [new_username]and then deleting the defaultpiuser after transferring necessary files and permissions.
- On your Pi, open a terminal and type
- Connect from another device:
- Linux/macOS: Open a terminal and type
ssh pi@[your_pi_ip_address](replacepiwith your username if changed, and[your_pi_ip_address]with the actual IP). - Windows: Modern Windows versions (Windows 10/11) have OpenSSH client built-in. Open Command Prompt or PowerShell and use the same command as Linux/macOS. Alternatively, you can use a client like PuTTY.
- Linux/macOS: Open a terminal and type
Once connected, you'll see a command-line interface, allowing you to run commands, manage files, and perform any task you would normally do directly on the Pi's terminal. SSH also facilitates secure file transfer using tools like SCP or SFTP, making it a versatile choice for remote management.
VNC: Visual Control of Your Raspberry Pi Desktop
While SSH provides remote access to your Raspberry Pi terminal, VNC (Virtual Network Computing) provides remote access to your Raspberry Pi desktop screen. Remote access via VNC thereby provides you with a graphical user interface (GUI) that allows you to control the Raspberry Pi with such clarity that you won't even feel you're working with it remotely. This is ideal for tasks that require visual interaction, such as configuring software with a GUI, browsing the web, or using graphical applications.
Configuring VNC for Graphical Remote Desktop
The most common and recommended VNC server for Raspberry Pi OS is RealVNC Connect, as it's often pre-installed or easily installable and offers robust features:
- Enable VNC Server:
- Via Raspberry Pi Configuration Tool (GUI): Go to Menu > Preferences > Raspberry Pi Configuration. Under the "Interfaces" tab, enable "VNC."
- Via
raspi-config(Terminal): Open a terminal and typesudo raspi-config. Navigate to "Interface Options" > "VNC" and select "Yes."
- Set up VNC Password: The first time you enable VNC, it will prompt you to set a password for VNC connections. Choose a strong, unique password.
- Download VNC Viewer: On the device you want to connect from (Windows, macOS, Linux, Android, iOS), download the free VNC Viewer application from RealVNC.
- Connect to your Raspberry Pi:
- Open VNC Viewer and enter your Raspberry Pi's local IP address.
- You'll be prompted for the VNC password you set earlier.
- Once connected, you'll see your Raspberry Pi's desktop environment, fully controllable.
For personal use, RealVNC’s cloud service provides an easier and more secure remote access option, allowing you to connect without complex network configurations like port forwarding. However, for more control over your network and direct connections, port forwarding with standard VNC may be preferable, though it requires more technical expertise and careful security considerations.
Raspberry Pi Connect: The Foundation's New Solution
Today, the Raspberry Pi Foundation is releasing a new solution to simplify and secure access to a remote Raspberry Pi. Raspberry Pi has just announced a new way to remotely access a Raspberry Pi, aiming to make the process more user-friendly and robust, especially for those who find traditional methods like port forwarding challenging. This new service, Raspberry Pi Connect, offers a direct and secure way to access your Pi.
Connect includes the ability to screen share on Raspberry Pi models running the Wayland window server and remote shell (terminal) access on all Raspberry Pi models. This is a significant step forward, providing a unified and officially supported remote access solution. From version 1.2 as of June 2024, the remote shell option has been included, making it even more versatile. This works for all models of Raspberry Pi, 32 and 64 bit, ensuring broad compatibility across the entire Raspberry Pi ecosystem. Especially useful for headerless setups, this allows all Raspberry Pis to be accessible via remote access to a terminal window in the web browser, offering incredible flexibility.
It is a secure remote access solution for Raspberry Pi OS, allowing you to connect to your Raspberry Pi desktop and command line directly from any browser. This eliminates the need for specific client software on your connecting device, streamlining the experience. For more information and detailed setup instructions, see the Connect documentation on the official Raspberry Pi website.
File Sharing Services: Easy Data Transfer
While SSH and VNC focus on control, sometimes you simply need to transfer files to or from your Raspberry Pi. Beyond the command-line file transfer capabilities of SSH (using SCP or SFTP), you can also set up dedicated file sharing services. These allow you to access your Pi's files from another device over the local network or the internet, just like a network drive.
Common methods for file sharing include:
- Samba: This allows your Raspberry Pi to act as a Windows file server, making its directories accessible from Windows, macOS, and Linux machines as network shares. It's excellent for local network file sharing.
- SFTP (SSH File Transfer Protocol): As mentioned, SFTP clients (like FileZilla) leverage your existing SSH setup to securely transfer files. It's a robust and secure method for both local and remote file transfers.
- NFS (Network File System): Primarily used in Linux/Unix environments, NFS allows you to share directories across a network, making them appear as if they are local to the client machine.
- Cloud Sync Services: For more global access, you can install cloud sync clients (e.g., Dropbox, Google Drive, Nextcloud) on your Raspberry Pi to keep files synchronized across all your devices.
Each of these methods offers different levels of complexity and security, so choose the one that best fits your specific needs and technical comfort level. For simple, secure transfers, SFTP is often the easiest to set up if you already have SSH enabled.
Automating Remote Access and Security Best Practices
To make remote access more convenient, we can configure the SSH and VNC servers to start automatically whenever your Pi boots up. This ensures that your Raspberry Pi is always ready for remote connection without manual intervention after a power cycle or reboot. Both SSH and VNC services are typically configured to start on boot by default when enabled via raspi-config or the GUI configuration tool.
However, convenience should never come at the expense of security. Since you're opening up your Raspberry Pi to potential external access, robust security measures are paramount. Once the remote access software is installed on the Raspberry Pi, the Raspberry Pi device can be securely accessed from anywhere in the world, but only if you take the necessary precautions:
- Strong Passwords: Always change the default username and password for your Raspberry Pi. Use complex, unique passwords for both your SSH user and VNC connections. Consider using SSH key-based authentication instead of passwords for even greater security.
- Firewall Configuration: Implement a firewall (like
ufwon Raspberry Pi OS) to restrict incoming connections to only the necessary ports (e.g., SSH on port 22, VNC on 5900). - Regular Updates: Keep your Raspberry Pi OS and all installed software up to date by regularly running
sudo apt update && sudo apt upgrade. This ensures you have the latest security patches. - Limit User Privileges: Avoid using the root user for daily remote access. Create a standard user account and use
sudowhen administrative privileges are required. - Disable Unused Services: Turn off any services or protocols that you don't need to reduce the attack surface.
- VPN (Virtual Private Network): For ultimate security when accessing your Pi from outside your local network, consider setting up a VPN server on your home network or even directly on your Raspberry Pi. This creates a secure, encrypted tunnel for all your remote traffic.
Adhering to these security best practices is critical to protect your Raspberry Pi and your network from unauthorized access and potential threats.
Beyond the Basics: Advanced Scenarios and Third-Party Tools
While SSH, VNC, and Raspberry Pi Connect cover most remote access needs, there are more advanced scenarios and third-party solutions that offer unique advantages, especially when dealing with network complexities like firewalls and NAT routers.
Remotely accessing Raspberry Pi behind a firewall or NAT router can be challenging because these network devices block unsolicited incoming connections. Traditional methods often require configuring port forwarding on your router, which can be complex and potentially expose your network if not done correctly. However, solutions exist that allow you to directly connect to your Raspberry Pi behind a firewall from anywhere as if it was on the local network, without needing to discover the IoT device IP and change any firewall settings.
One such category of solutions involves "reverse tunnels" or "relay services" that establish an outbound connection from the Raspberry Pi to a cloud server, allowing incoming connections to be routed through that server. This bypasses the need for direct inbound connections to your home network.
SocketXP, a popular IoT remote access software platform, enables you to easily manage, control, monitor, and remote access a fleet of Raspberry Pis from a web portal. This type of service is particularly useful for commercial deployments or managing a large number of devices, as it provides centralized control and simplifies connectivity across diverse network environments. Such platforms often allow you to send commands and batch jobs to Raspberry Pi from a web portal, streamlining management tasks for multiple devices.
In short, there are plenty of ways to connect Raspberry Pi remotely. Whether you opt for the command-line efficiency of SSH, the visual convenience of VNC, the streamlined approach of Raspberry Pi Connect, or specialized third-party platforms, the flexibility to control your Raspberry Pi from anywhere empowers you to truly unlock its potential for any project or application.
Conclusion
The ability to establish robust Raspberry Pi remote access is a game-changer for anyone working with these versatile single-board computers. We've explored the foundational methods like SSH for secure command-line control and VNC for a full graphical desktop experience, highlighting their respective strengths and setup procedures. We also delved into the exciting new official solution, Raspberry Pi Connect, which promises to simplify remote access for all users, offering both remote shell and screen sharing directly from a web browser. Furthermore, we touched upon file sharing and critical security considerations that must accompany any remote setup.
Ultimately, whether you're managing a home automation server, a robotics project, or an IoT deployment, mastering Raspberry Pi remote access frees you from physical constraints, enabling efficient management and troubleshooting from anywhere in the world. By implementing the secure practices discussed, you can ensure your remote connections are not only convenient but also robust and protected. Which remote access method do you find most useful for your Raspberry Pi projects? Share your experiences and tips in the comments below!

How to Access Your Raspberry Pi Remotely (Mac/Windows/Linux)
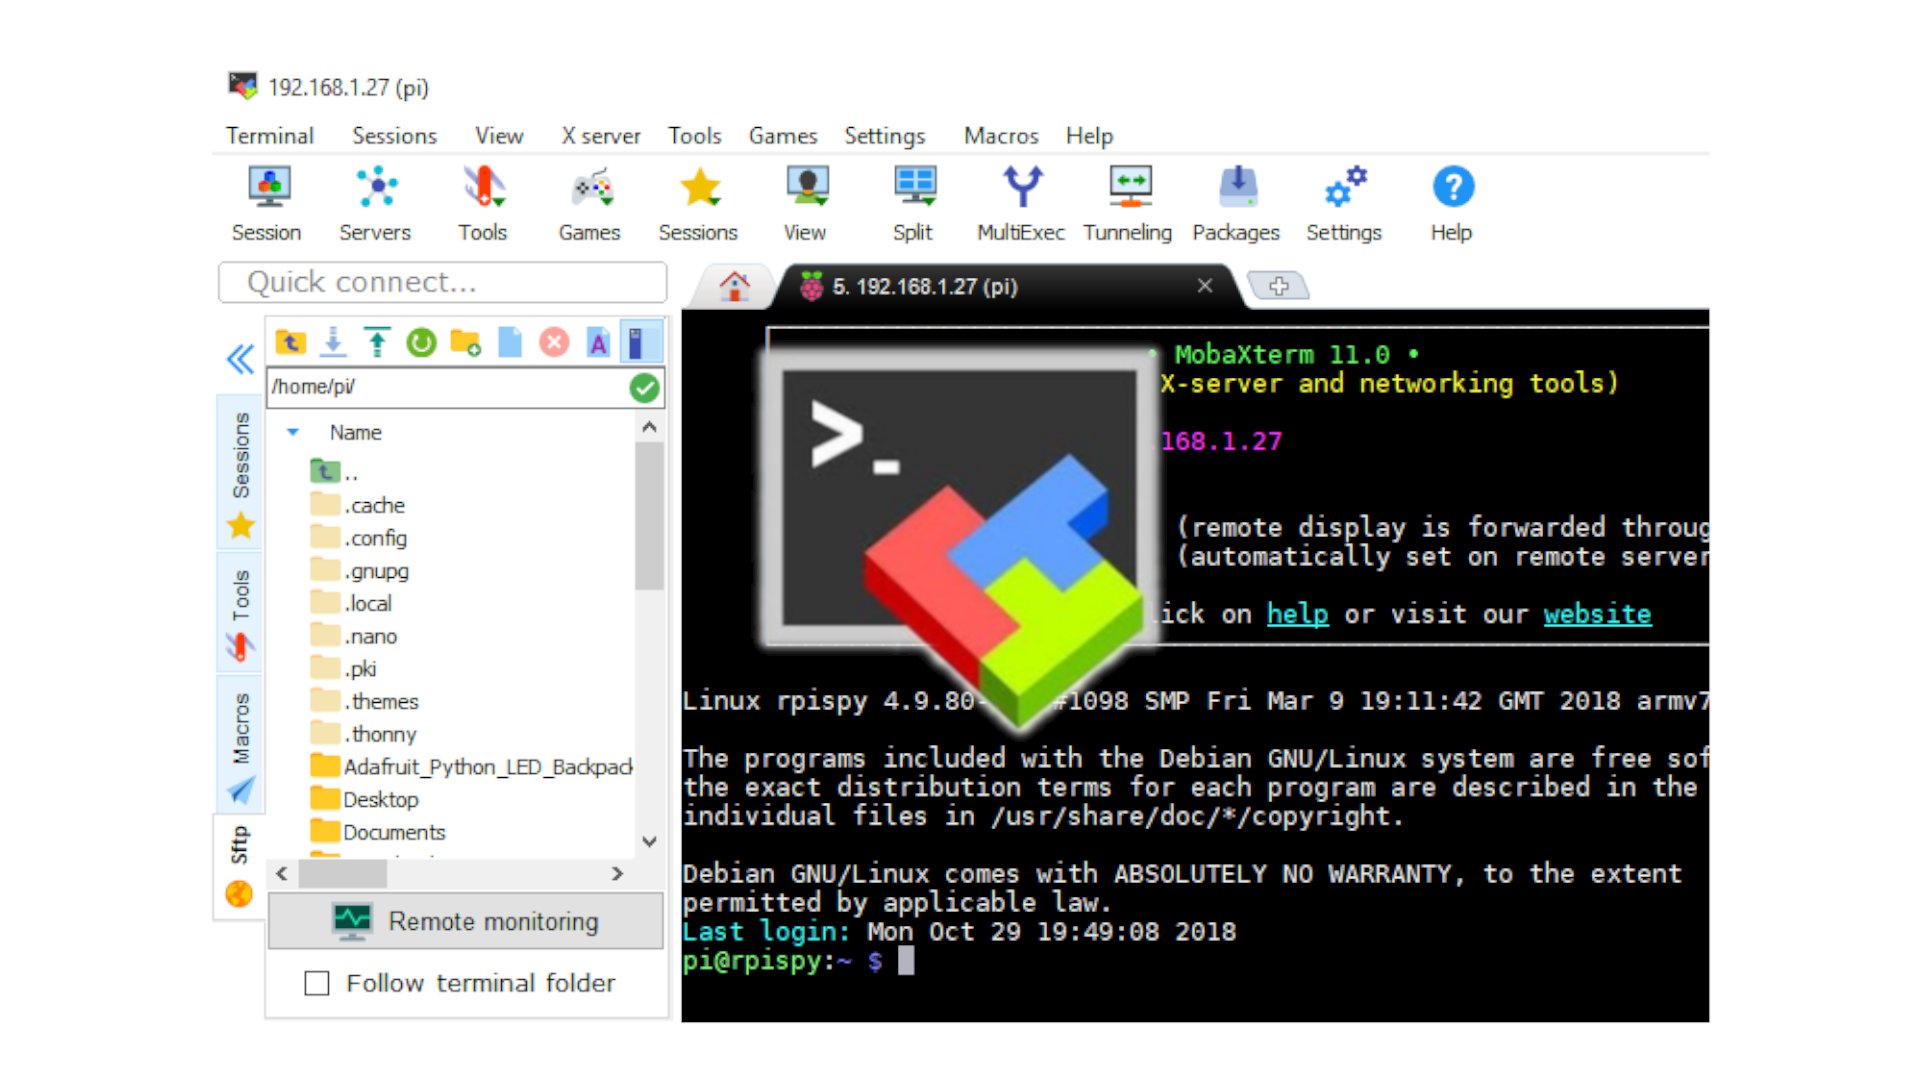
Remote Access to a Raspberry Pi using MobaXterm - Raspberry Pi Spy

How To Remote Access Raspberry Pi From Outside Network - Upswift.io
