Unlock Your Pi: Remote Connect Raspberry Pi Behind Firewall Without Port Forwarding, Free & Easy
Imagine being able to securely access your Raspberry Pi from anywhere, even when it's tucked behind a firewall, and without relying on costly services or complex network configurations. This guide will show you how to remote connect Raspberry Pi behind firewall without port forwarding, all for free and seamlessly with Linux and other operating systems, ensuring you don't need Windows for this process.
Connecting to your Raspberry Pi remotely while behind a firewall can sound like a tech challenge, but don’t panic. Whether you’re a hobbyist or a professional, this guide will walk you through robust, free methods to achieve seamless remote access, bypassing the common hurdles of network restrictions. We'll dive into practical solutions that allow you to maintain full control over your Pi, no matter where you are, and without spending a dime.
Table of Contents
- The Challenge: Remote Connecting to Your Raspberry Pi Behind a Firewall
- Understanding Firewalls and NAT
- Why Port Forwarding Isn't Always an Option
- Essential Prerequisites for Remote Pi Access
- Method 1: Leveraging Reverse SSH Tunnels for Secure Access
- Setting Up a Public Server (or VPS)
- Establishing the Reverse SSH Connection
- Method 2: Utilizing Ngrok for Instant Remote Access
- Ngrok Setup and Configuration on Raspberry Pi
- Method 3: Exploring VPNs and Cloud-Based Solutions (Free Tiers)
- Best Practices for Secure Remote Raspberry Pi Access
- Troubleshooting Common Remote Connection Issues
- Expanding Your Raspberry Pi's Remote Capabilities
- Conclusion
The Challenge: Remote Connecting to Your Raspberry Pi Behind a Firewall
Accessing your Raspberry Pi via SSH behind a firewall without using Windows is entirely possible with the right tools and techniques. However, the initial hurdle often lies in understanding why direct connections are blocked in the first place. Firewalls, network address translation (NAT), and restrictive network policies are designed to protect local networks from unauthorized external access. While crucial for security, they can make remote access to devices like your Raspberry Pi challenging. This section will demystify these concepts and explain why traditional methods like port forwarding aren't always viable or desirable.Understanding Firewalls and NAT
At its core, a firewall acts as a digital gatekeeper, monitoring incoming and outgoing network traffic and deciding whether to allow or block specific data packets based on a set of predefined rules. It's your network's first line of defense against malicious attacks and unauthorized intrusions. When your Raspberry Pi is behind a firewall, it means that external requests attempting to connect directly to your Pi are likely being intercepted and blocked by this protective barrier. Complementing firewalls is Network Address Translation (NAT), a technology used by most home and corporate routers. NAT allows multiple devices on a private network (like your Raspberry Pi, laptop, and phone) to share a single public IP address provided by your Internet Service Provider (ISP). When an external request comes in, the router doesn't know which internal device it's meant for, as they all appear to share the same public IP. This is where port forwarding typically comes in: you configure the router to direct specific incoming traffic (e.g., SSH on port 22) to a particular internal IP address (your Raspberry Pi's). However, as we'll see, this isn't always an option.Why Port Forwarding Isn't Always an Option
While port forwarding is a common solution for remote access, it comes with several limitations and drawbacks, especially when you're trying to remote connect Raspberry Pi behind firewall without port forwarding. * **Corporate/Institutional Firewalls:** If your Raspberry Pi is on a corporate or university network, IT policies almost certainly prevent you from configuring port forwarding on their routers. Changing the VPN/firewall configuration can be cumbersome if the Raspberry Pi is behind a corporate firewall which does not allow SSH or VNC connections. These networks are designed for maximum security and tightly control external access. * **ISP Restrictions:** Some ISPs block common ports or restrict port forwarding capabilities, particularly on residential internet plans. This can be frustrating when you're trying to set up your own home lab. * **Dynamic IP Addresses:** Many home internet connections use dynamic IP addresses, meaning your public IP changes periodically. This makes it difficult to reliably connect to your Pi without a dynamic DNS service, adding another layer of complexity. * **Security Concerns:** Opening ports on your router can expose your network to potential vulnerabilities if not configured correctly. While SSH is generally secure, a misconfigured port forward could inadvertently open other services or make your Pi a target for brute-force attacks. * **Router Access:** You might not have administrative access to the router your Raspberry Pi is connected to, making port forwarding impossible. This is common in shared living spaces or when using public Wi-Fi. Fortunately, there are alternative methods to access your Raspberry Pi that bypass these limitations entirely, allowing you to securely remote connect Raspberry Pi behind firewall without port forwarding, all for free.Essential Prerequisites for Remote Pi Access
Before we dive into the specific methods for remote access, ensure your Raspberry Pi is properly set up and ready. These foundational steps are crucial for any remote connection strategy. 1. **Raspberry Pi OS Installation:** Your Raspberry Pi needs an operating system. The Raspberry Pi OS comes in these variants for different OSes (32-bit, 64-bit, Lite, Desktop). Make sure you have a fresh installation. 2. **Raspberry Pi Imager:** Next, install and open the Raspberry Pi Imager on your computer (Windows, macOS, or Linux). This tool makes flashing the OS to your microSD card incredibly simple. Click the Raspberry Pi Imager to download it from the official website. 3. **SSH Enabled:** Secure Shell (SSH) is the primary protocol we'll use for remote command-line access. By default, SSH might be disabled on new Raspberry Pi OS installations for security reasons. * **During Imager Setup:** The easiest way to enable SSH is directly within the Raspberry Pi Imager. Before writing the OS to your SD card, click the gear icon (settings) and enable SSH, setting a username and password (or better, an SSH key). * **After OS Installation (if not enabled via Imager):** * Boot your Pi, connect a monitor and keyboard. * Open a terminal and type: `sudo raspi-config` * Navigate to `Interface Options` -> `SSH` -> `Yes`. * Ensure your Pi is updated: `sudo apt update && sudo apt upgrade -y` 4. **Internet Connection:** Your Raspberry Pi must be connected to the internet, whether via Wi-Fi or Ethernet. This is fundamental for it to establish outbound connections to external services or your public server. 5. **Basic Linux Command Line Knowledge:** While this guide provides commands, a basic familiarity with the Linux terminal will make the process smoother. 6. **Static Local IP (Recommended):** While not strictly required for the methods below, assigning a static local IP address to your Raspberry Pi within your home network can prevent issues if its IP changes. This ensures consistency when connecting to it from another device on the same local network, or when setting up persistent reverse SSH tunnels. With these prerequisites met, your Raspberry Pi is now primed for advanced remote access techniques, allowing you to securely remote connect Raspberry Pi behind firewall without port forwarding.Method 1: Leveraging Reverse SSH Tunnels for Secure Access
One of the most robust and free methods to remotely SSH Raspberry Pi behind firewall without port forwarding is by setting up a reverse SSH tunnel. This technique works by having your Raspberry Pi initiate an outbound connection to a publicly accessible server, effectively punching a hole through the firewall from the inside out. Once this connection is established, you can then use the public server as an intermediary to SSH back into your Pi. This is a highly secure remote access solution, as the connection originates from the Pi itself, bypassing inbound firewall restrictions. It works seamlessly with Linux and other operating systems, offering a flexible solution.Setting Up a Public Server (or VPS)
To create a reverse SSH tunnel, you'll need a publicly accessible server that your Raspberry Pi can connect to. This can be a Virtual Private Server (VPS) from a cloud provider. Many providers offer free tiers or very inexpensive options that are perfect for this purpose. For instance, Oracle Cloud Infrastructure (OCI) offers a generous Always Free tier that includes a small Ubuntu instance, which is ideal. Where xxx.xxx.xxx.xxx is the IP public of your Ubuntu Oracle (or any other VPS provider). **Steps for VPS Setup (General):** 1. **Choose a Provider:** Sign up for a free tier or a low-cost VPS (e.g., Oracle Cloud Free Tier, AWS EC2 Free Tier, Google Cloud Free Tier). 2. **Provision an Instance:** Create a new virtual machine instance. An Ubuntu or Debian-based Linux distribution is recommended for ease of use. 3. **SSH Access:** Ensure you can SSH into your public server from your local machine. This will usually involve using an SSH key pair. 4. **Keep Alive (Optional but Recommended):** Configure your SSH server (on the VPS) to prevent idle disconnections. Edit `/etc/ssh/sshd_config` and add/modify `ClientAliveInterval 60` and `ClientAliveCountMax 3`. Restart SSH service: `sudo systemctl restart sshd`.Establishing the Reverse SSH Connection
Now, let's set up the tunnel from your Raspberry Pi to your public server. This command will be run on your Raspberry Pi. **On your Raspberry Pi:** Open a terminal and execute the following command: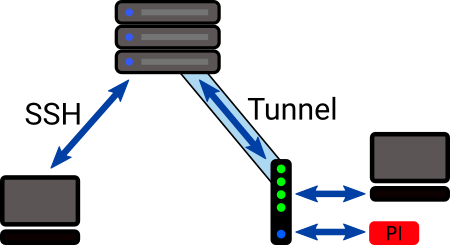
Access Raspberry Pi Behind Router or Firewall Remotely
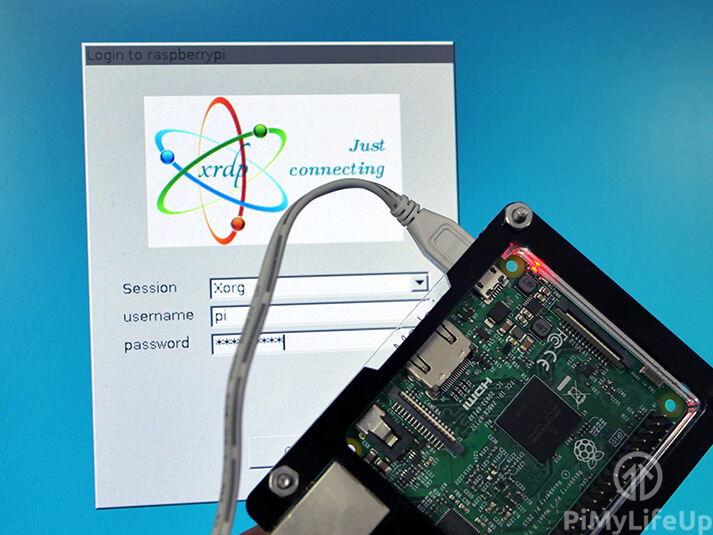
How to Setup Raspberry Pi Remote Desktop - Pi My Life Up
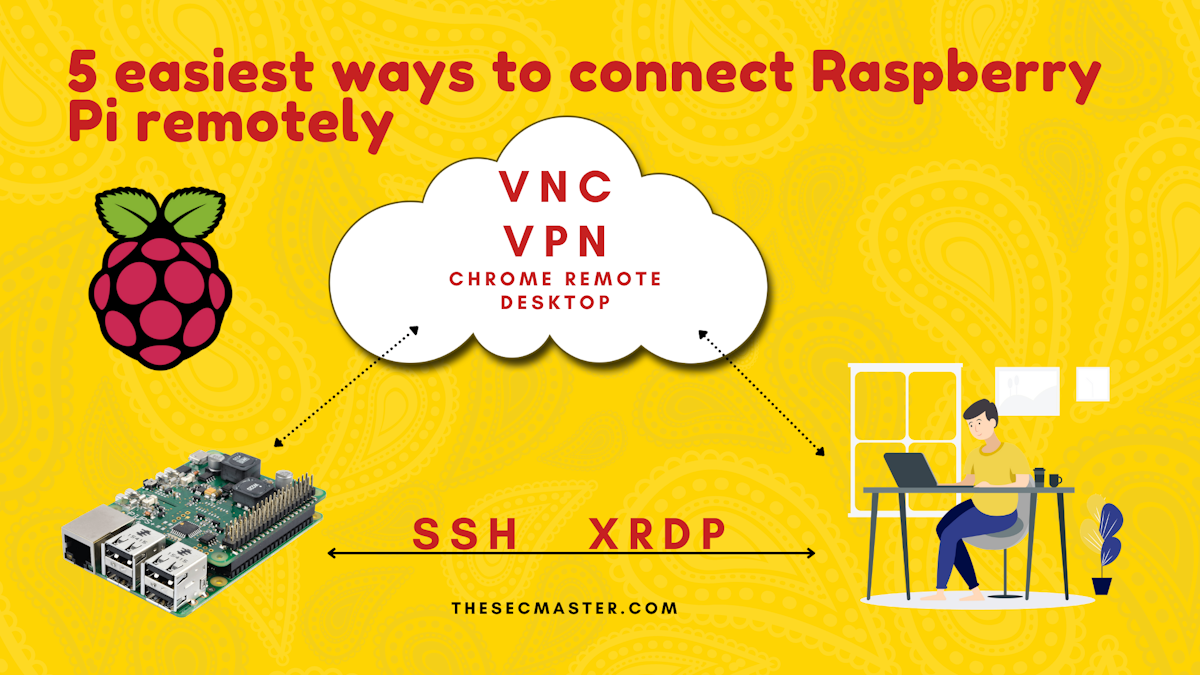
5 Simple Remote Access Methods for Raspberry Pi
